

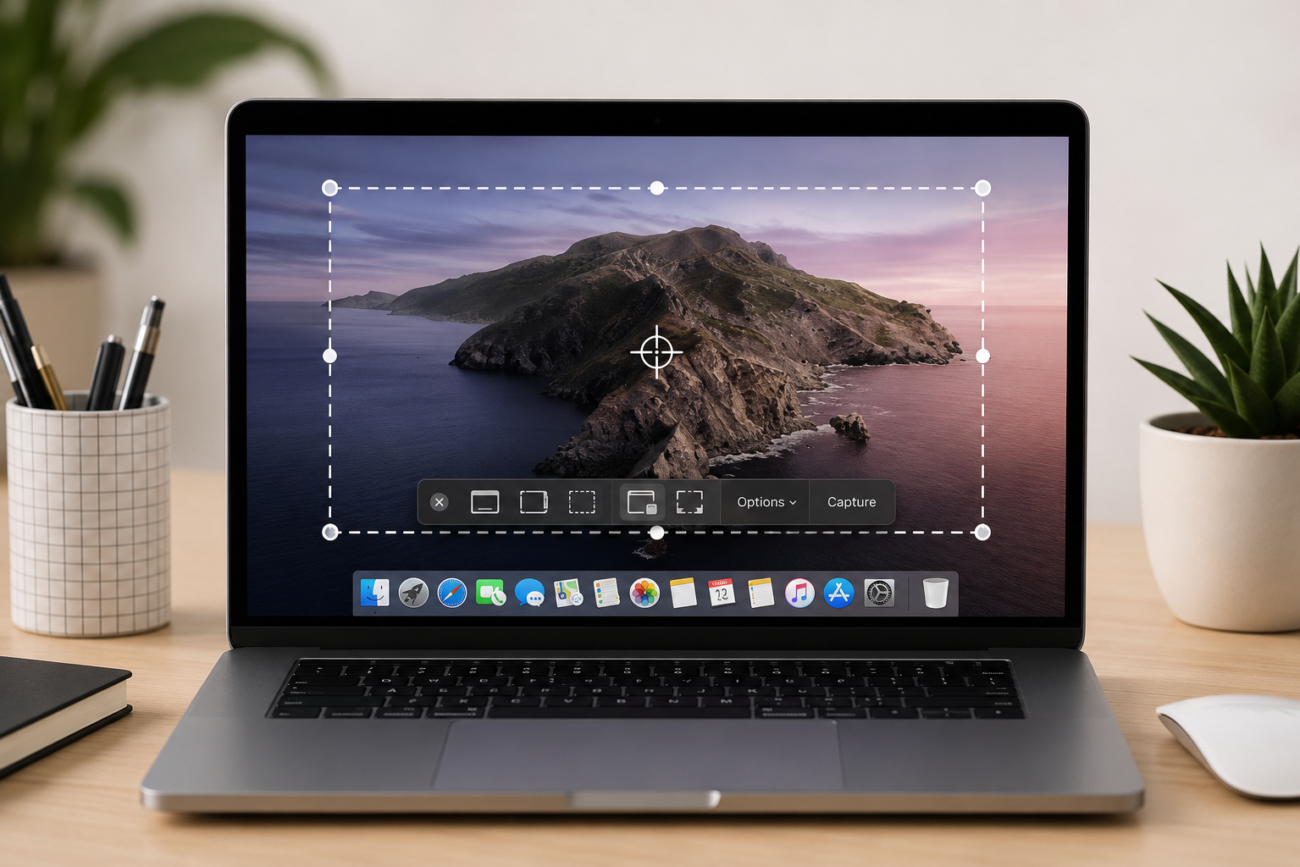
Taking a screenshot on a Mac is one of the most useful everyday skills, whether you need to save a receipt, capture an error message, share part of a webpage, or create visual instructions. If you have ever wondered how to screenshot on Mac, the process is straightforward once you know the right keyboard shortcuts.
This guide explains how to take a screenshot on a Mac using built-in tools, shortcut combinations, and extra features available in macOS. Whether you need a full-screen image, a selected area capture, or a screenshot of a specific window, you will find the fastest method here.
Essential Mac Screenshot Shortcuts You Should Know
If your goal is to learn how to take a screenshot on mac quickly, keyboard shortcuts are the fastest solution. Apple includes native screen capture tools in macOS, so there is no need to install third-party software for standard screenshot tasks.
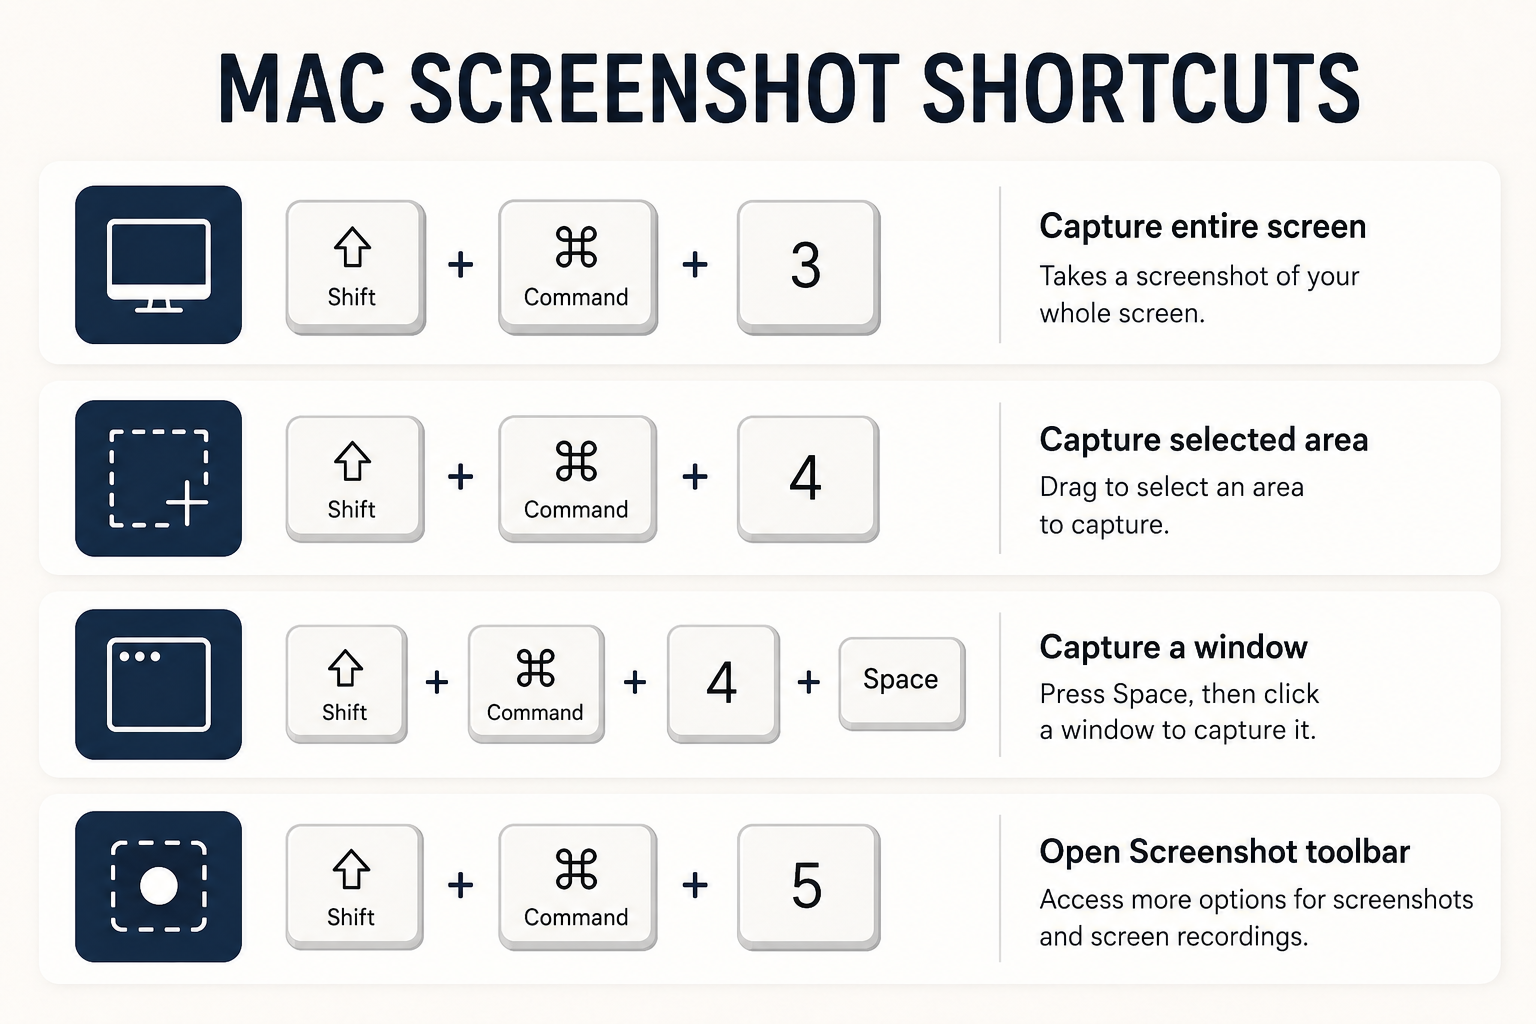
To capture the entire screen, press Shift + Command + 3. Your Mac instantly saves the screenshot to the desktop by default, unless you have changed the save location. This option is ideal for recording everything currently visible on your display in one image.
If you only need part of the screen, use Shift + Command + 4. Your cursor changes into a crosshair, allowing you to drag and select the exact area you want to capture. This is one of the most commonly used methods for users asking how to take screenshot on Mac efficiently.
For capturing a single application window, press Shift + Command + 4, then tap the Space bar. The cursor turns into a camera icon. Click the desired window, and macOS captures only that active element, making screenshots look cleaner and more professional.
Advanced Screen Capture Features in macOS
Modern versions of macOS offer more than simple screenshot shortcuts. If you press Shift + Command + 5, the Screenshot toolbar opens with additional controls. This built-in utility is especially useful for users who need flexibility beyond standard image captures.
From this toolbar, you can choose to capture the entire display, a selected window, or a custom portion of the screen. It also includes screen recording tools, which are helpful when static screenshots are not enough to explain a process or demonstrate software behaviour.
The options menu allows you to change where screenshots are saved. Instead of cluttering your desktop, you can send captures directly to Documents, Clipboard, Mail, or another folder. This improves workflow efficiency, particularly for regular business or educational use.
You can also enable timers before taking a screenshot. This is useful when you need to prepare a menu, hover state, or temporary interface element before capture. Many Mac users overlook this feature, despite how practical it can be for precise screenshots.
Thumbnail previews appear briefly after each screenshot in recent macOS versions. Clicking the preview lets you crop, annotate, add arrows, insert text, or share immediately. This removes the need for separate editing software for quick markup tasks.
Where Mac Screenshots Are Stored and How to Manage Them
When learning how to screenshot on a Mac, users often ask where their images go. By default, macOS stores screenshots on the desktop with filenames that include the date and time. This makes recent captures easy to identify but can quickly create clutter.
If you prefer copying a screenshot directly without saving it as a file, add the Control key to your shortcut. For example, Shift + Command + Control + 4 copies the selected screenshot to the clipboard, allowing you to paste it into documents or chat applications instantly.
File format also matters. macOS usually saves screenshots as PNG files, which preserve high image quality. If smaller file sizes are required for websites or email attachments, users may later convert them to JPG using Preview or another image editing tool.
Preview, Apple’s built-in image application, can open screenshots for resizing, cropping, rotating, or adding comments. This means even basic screenshot editing remains simple without downloading extra software, making the Mac ecosystem convenient for everyday productivity tasks.
Common Problems and the Fastest Fixes
Sometimes screenshot shortcuts do not respond as expected. If that happens, first confirm your keyboard shortcut is correct. Confusion between Command and Control keys is common, especially for users switching from Windows and learning how to take a screenshot on a mac.
If screenshots are not saving, check your storage space and screenshot destination folder. A moved or deleted save location may interrupt normal behaviour. Opening the Screenshot toolbar with Shift + Command + 5 helps verify the current storage settings quickly.
Function key settings can also interfere on some keyboards. External keyboards or customised layouts may require different input behaviour. Testing shortcuts with the built-in Mac keyboard helps determine whether hardware configuration is causing the issue.
For a quick summary of the most useful screenshot methods:
- Shift + Command + 3 captures the full screen instantly;
- Shift + Command + 4 lets you select a precise screen area;
- Shift + Command + 4 plus Space captures a single window cleanly;
- Shift + Command + 5 opens advanced screenshot and recording tools.
Knowing how to take a screenshot on mac saves time in both personal and professional tasks. Built-in macOS tools cover nearly every standard screen capture need, from simple full-screen grabs to more advanced annotated captures.
Once these shortcuts become habit, creating screenshots on a Mac feels effortless. Whether you need quick documentation, customer support evidence, educational materials, or social sharing, the native screenshot tools in macOS are fast, reliable, and easy to master.


